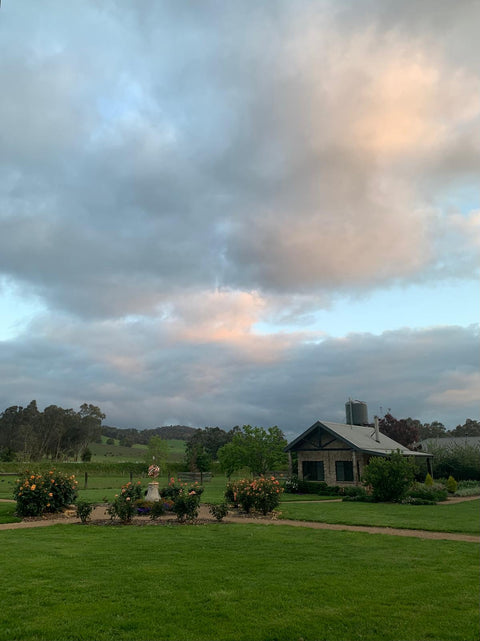
What is a Timelapse?
A timelapse works by taking a series of images or frames over a set period and stitching them together into a video. Unlike normal video, which records in real-time, timelapse compresses minutes and hours into a few seconds to create a "fast-forward" effect.
Timelapse videos transform everyday moments into stunning, fast-paced visuals—and your iPhone makes creating them a breeze.
How To Make A Timelapse Video on iPhone
There are three ways to make a timelapse video using an iPhone:
We’ll show you a step-by-step process for each, all the tools you need, and helpful tips to create a great timelapse.
Option 1: Use Timelapse mode in the Camera App
While the default timelapse feature is perfect for beginners, it lacks controls beyond exposure and focus lock. You can’t adjust the frame rate and clip length either, so it’s not ideal for longer shooting periods. This means that a 10-minute timelapse and a 2-hour timelapse might end up with the same clip length (usually 30 seconds) because of the iPhone’s automated processing.
If you need more control over your timelapse, third-party apps like Skyflow and Lapse It have advanced features like custom frame rates and interval settings.
Option 2: How to Turn a Video into a Timelapse
If you’ve already recorded a video on your iPhone, you can convert it into a timelapse by speeding it up using video editing apps:
Making a timelapse with iMovie (Free)
Making a timelapse with CapCut (Free)
Making a timelapse with Splice (Free with In-App Purchases)
Why convert regular videos to timelapse? Converting from a normal video to a timelapse gives you complete flexibility over the speed and clip length. If you have enough space, this might be a better option because you can experiment with the speed to create the exact effect you want.
Can I convert a timelapse back to normal speed? Unfortunately, no. That’s because shooting with the built-in timelapse mode captures fewer frames per second (FPS). If the iPhone captures 1 frame every second, for example, there’s simply no “in-between” data to recreate a real-time video at 30 frames per second.
Option 3: How to Make a Timelapse Video from Photos
Creating a timelapse from photos allows for greater control over individual frames, making it ideal for photographers and creators looking to craft precise, high-quality videos.
Photo-based timelapses require more time and effort in post-processing, as each photo might need adjustments for consistency in brightness, sharpness, or color before stitching them together.
iPhone Timelapse Tips
1. Keep your phone stable
Place your iPhone on a tripod or steady surface to capture smooth and professional-looking timelapse videos. Without it, even slight movements can result in shaky or jerky footage that will take time to correct in post-processing.
Tools like the Pocket Tripod come in handy for taking clear and stable timelapse videos. Unlike bulky traditional tripods, it’s portable enough to carry anywhere, so you’re always ready to shoot steady timelapses. Whether you’re filming in a bustling city or on a rugged trail, the Pocket Tripod’s compact footprint makes it easy to setup even in tight or crowded spaces.
2. Adjust focus and exposure settings
Fix your composition before you start recording, then tap the screen to lock the focus and exposure. In bright conditions, it’s best to reduce the exposure to prevent overexposed footage.
3. Charge or plug in your phone
Timelapses can be battery-intensive, especially for longer shoots. You wouldn’t want your video to get cut off! Make sure your iPhone is fully charged or connected to a power source, and if you’re shooting outdoors, consider using a portable power bank to keep it powered throughout the session.
4. Edit your timelapse before posting
After recording, use the Photos app to trim your clip or adjust playback speed. For more creative edits, apps like CapCut let you add music, filters, or text for extra polish. Once your video is ready, export it to share on social media or save it to your device.
Creating a timelapse on your iPhone is a simple and creative way to capture the world around you. With the Pocket Tripod, you can focus on your vision, knowing your phone is steady and ready wherever inspiration strikes.
Start experimenting, share your creations, and let the Pocket Tripod help you bring your ideas to life—anytime, anywhere.
Related posts:
Best Mini Tripod for Your Smartphone


